Integrations & actions
Connect your marketing tools once per site, then decide per campaign what happens to every lead.
1. Connect a tool
Go to Settings → Integrations → Add Integration and pick a connector:
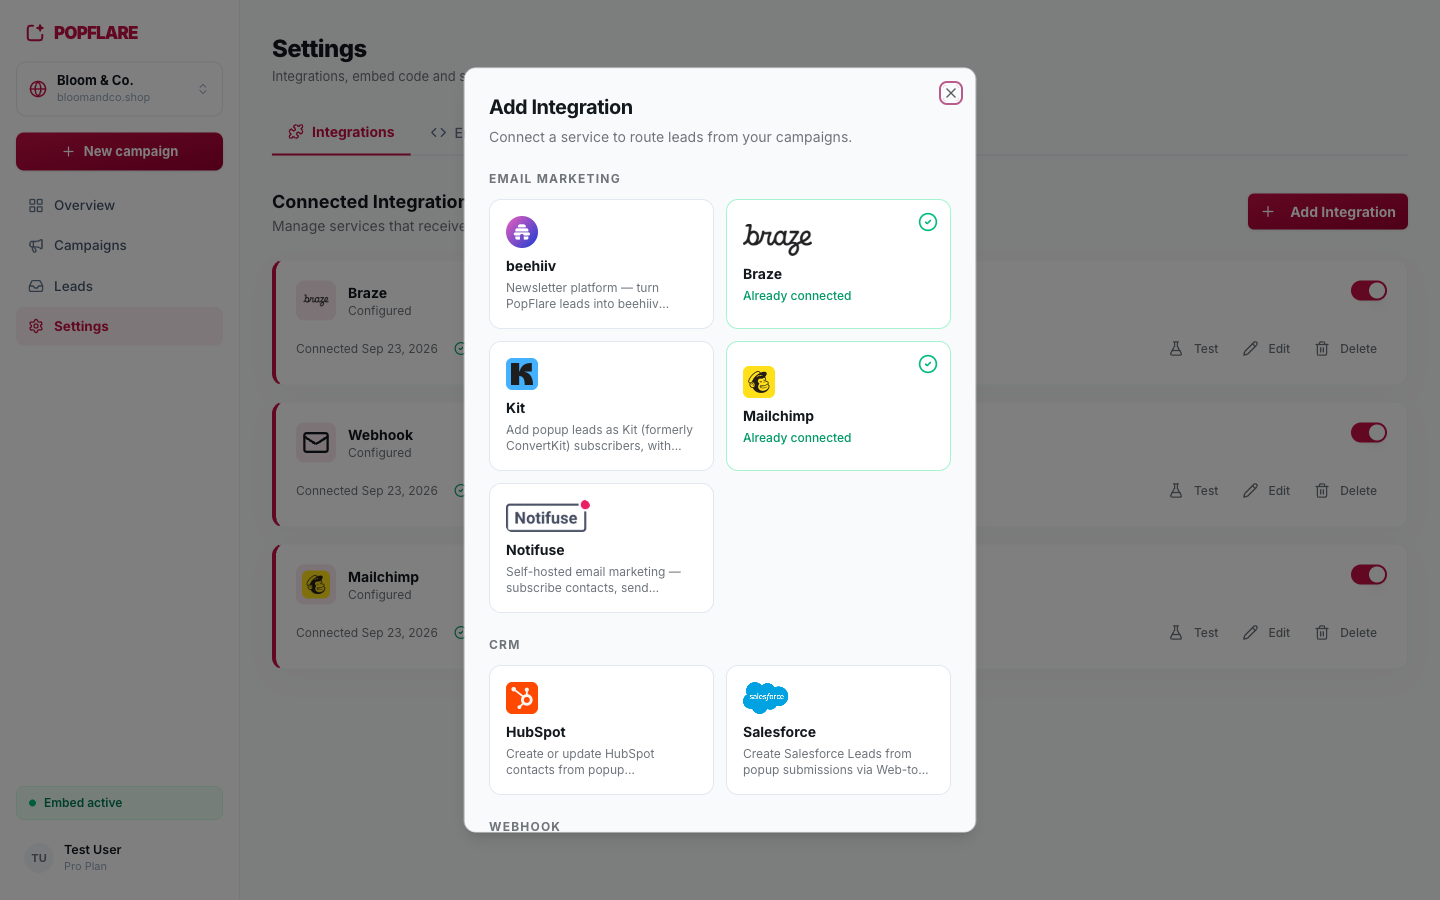
| Category | Connectors |
|---|---|
| Email marketing | Braze, Mailchimp, Kit (ConvertKit), beehiiv, Notifuse |
| CRM | HubSpot, Salesforce |
| Anything else | Signed webhooks to Zapier, Make, n8n or your own backend |
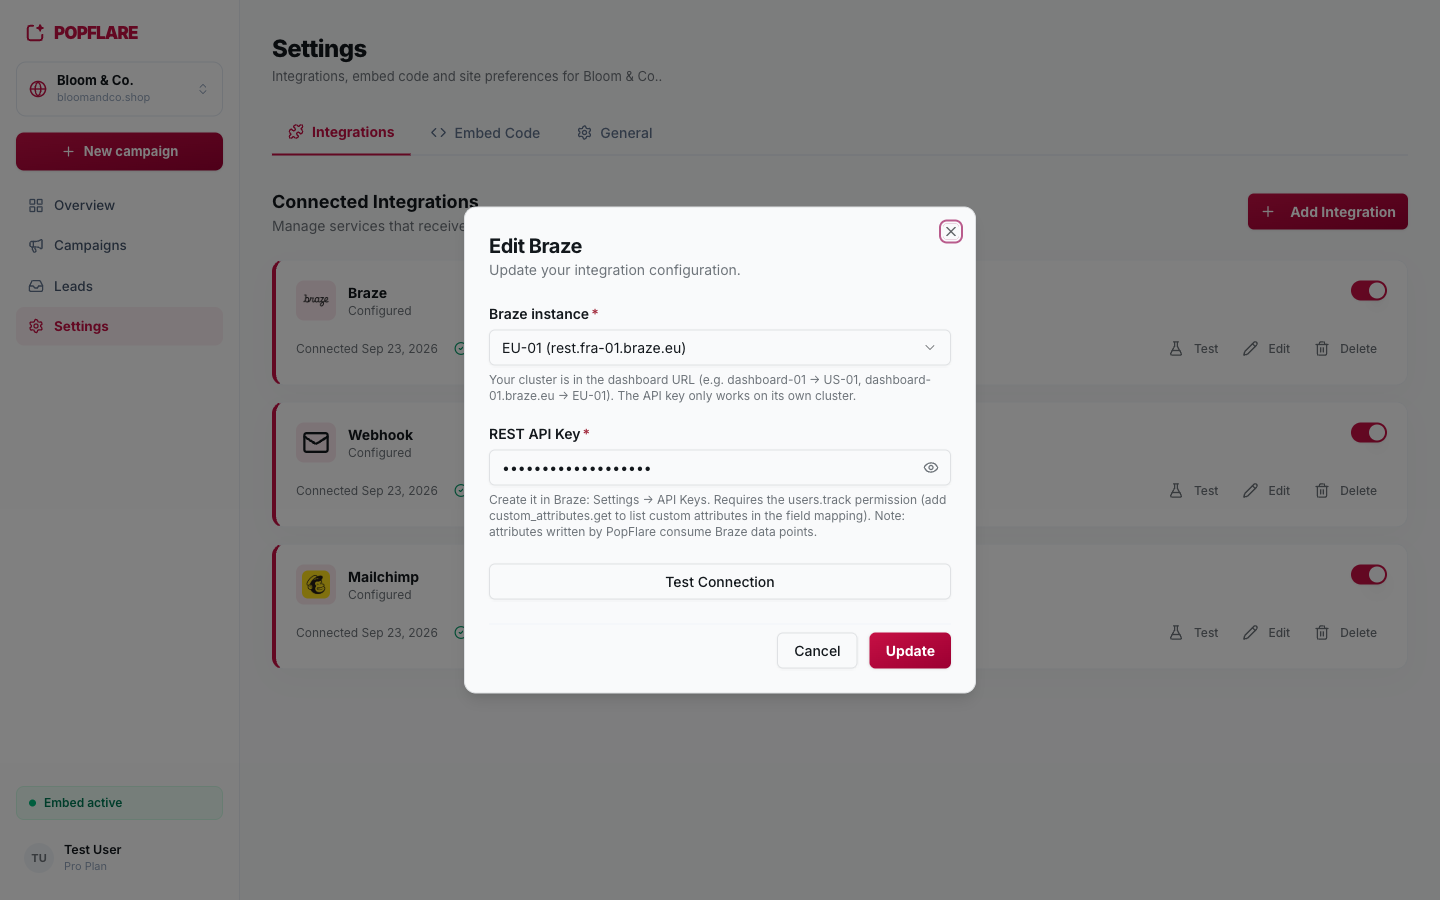
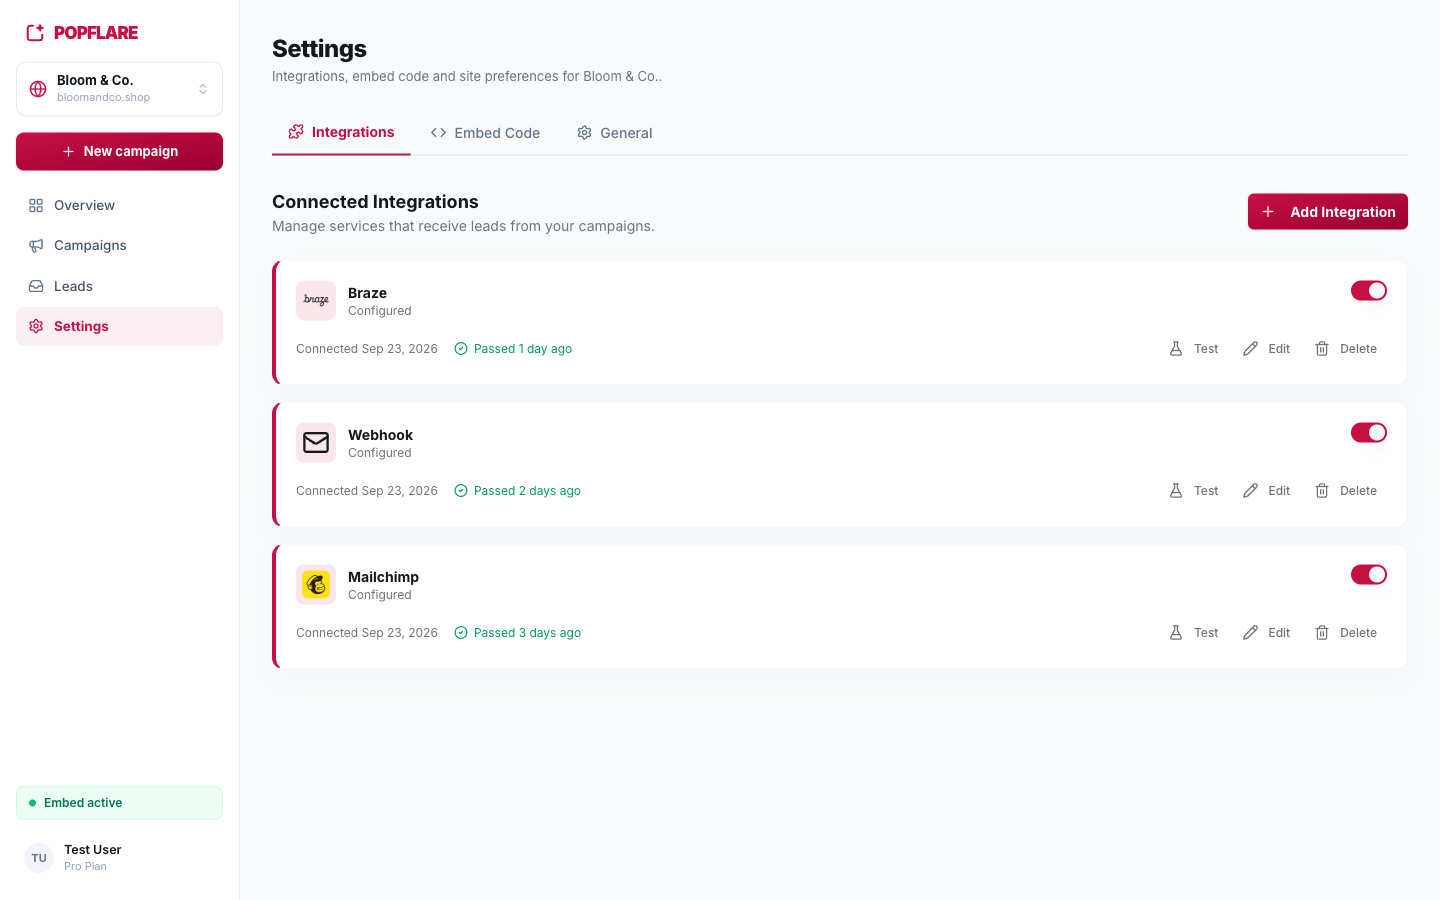
Fill in the credentials the connector asks for (an API key, a region, an account…) and press Test Connection. Credentials are stored encrypted and never shown again in full.
2. Add actions to a campaign
On the campaign page, the Actions card lists what runs on every lead, in order. Click Add action, pick an integration and one of its actions. Chain as many as you need, even several from the same tool, and reorder them with the arrows.
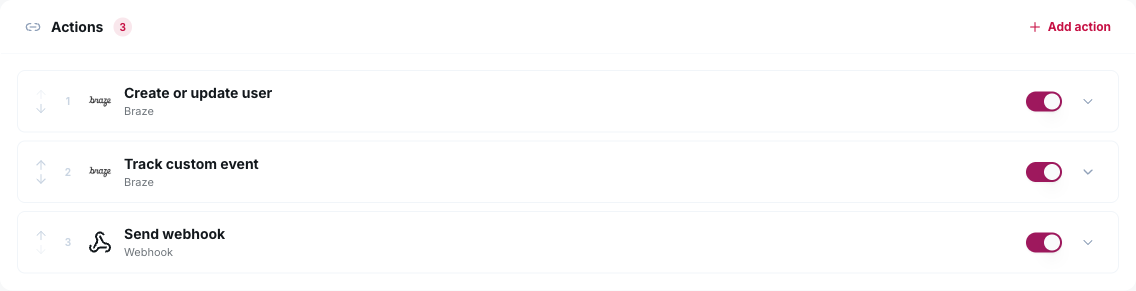
- Each action can be switched off without deleting it.
- An action that still needs configuration is marked Needs setup and opens automatically.
- If an external service is temporarily down, PopFlare retries automatically. Actions that already succeeded are never repeated.
- Leads are always stored in PopFlare first, so nothing is lost even if a tool rejects them. The result of every action is visible in Leads.
Examples of actions
| Connector | Actions |
|---|---|
| Braze | Create or update user (with email subscription state), add to a subscription group, track a custom event with properties |
| Mailchimp | Add or update audience member, tag member |
| Kit | Create or update subscriber, add to form, tag subscriber |
| beehiiv | Create subscription |
| Notifuse | Create or update contact, subscribe to list |
| HubSpot | Create or update contact, add to static list |
| Salesforce | Create lead (Web-to-Lead) |
| Webhook | Send the lead as JSON to your URL, with custom headers and an optional signing secret |
3. Field mapping
Actions that create contacts show a mapping: for each field of the destination (email, first name, a CRM property…) choose which form field fills it. Custom fields of the destination are loaded live when the connector allows it.
For choice fields, a value map translates your options into the destination's values (for example
Weekly → weekly_digest). An unmapped value is dropped rather than sent wrong.
4. Placeholders: composing values
Text settings of an action, such as event properties, tags or custom values, accept either a fixed value or a placeholder that is filled in for each lead:
| Placeholder | Value |
|---|---|
{{lead.email}}, {{lead.<field>}} | any submitted field, hidden fields included |
{{campaign.name}} · {{campaign.slug}} · {{campaign.id}} | the campaign |
{{variant.name}} · {{variant.tag}} · {{variant.id}} | the A/B variant the visitor saw |
{{site.domain}} | the site's main domain |
{{page.url}} · {{page.host}} | the page and domain where the lead converted |
{{submitted_at}} | submission date and time (ISO 8601) |
A placeholder with no value resolves to an empty string. Braze skips empty event properties, so optional values never overwrite existing data with blanks.
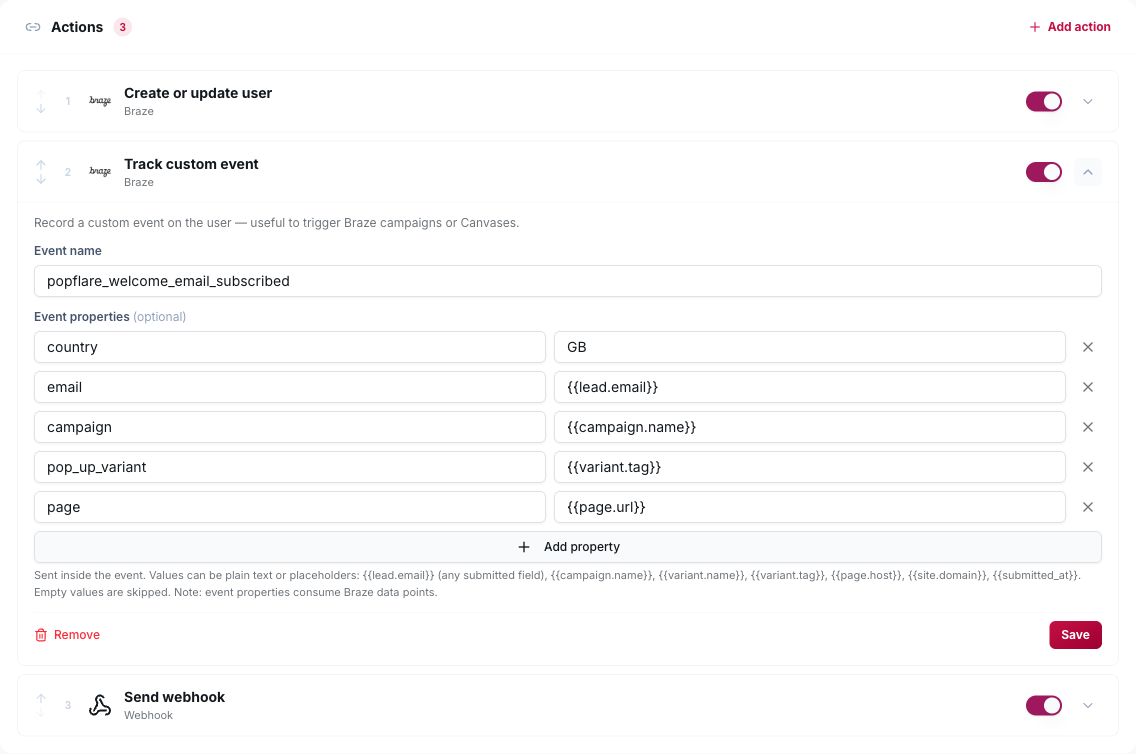
Example: a Braze event with properties
The Track custom event action sends an event such as popflare_welcome_email_subscribed
with any properties you list. Mix fixed values (country = GB) and placeholders
(pop_up_variant = {{variant.tag}}) to build exactly the payload your CRM team needs, without any code.
Tip
To send the same value to everyone (for example marketing_consent = true), just type it as a fixed value.